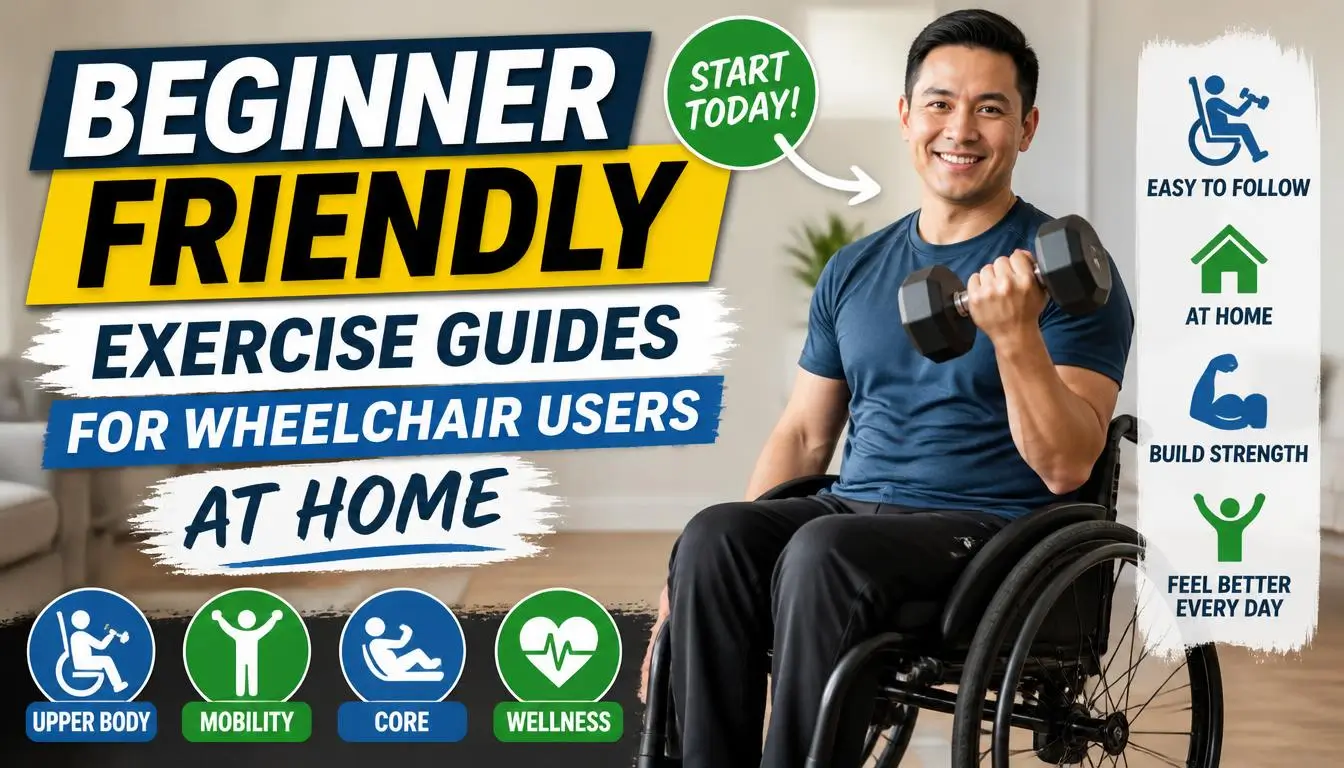
Finding beginner friendly exercise guides for wheelchair users at home felt almost impossible when I first started looking. Most fitness content assumes you can stand, jump, or use your legs freely. That’s frustrating, and honestly, it made me want to skip exercise altogether. But after months of trial and error, adapting routines, and figuring out what actually works from a seated position, I landed on a system that changed everything for me. You don’t need a gym. You don’t need expensive equipment. You just need a starting point.
Why Most Fitness Content Fails Wheelchair Users
Here’s the thing that bothered me the most. I’d search for home workouts and find hundreds of results, but almost none of them accounted for someone who uses a wheelchair full time. The few that did were either overly clinical, clearly written by someone who’d never sat in a chair longer than five minutes, or so simplified they felt patronizing.
Real fitness for wheelchair users isn’t about watering down able-bodied routines. It’s about building strength, flexibility, and cardiovascular endurance using the body you actually have. And that requires a fundamentally different approach.
I learned this the hard way after trying to follow a “seated workout” on YouTube that was clearly designed for office workers taking a break at their desks. The movements assumed full trunk control, grip strength, and range of motion that not every wheelchair user has. That experience pushed me to build my own approach from scratch.
Setting Up Your Home Space for Seated Workouts
Before you do a single rep, your space matters more than you think. I made the mistake of trying to work out in my living room with furniture everywhere. My wheels kept bumping the coffee table, and I couldn’t extend my arms fully without hitting a lamp.
Clear a space that gives you at least three feet of open room on each side of your chair. Lock your brakes every single time. This sounds obvious, but I rolled backward mid-shoulder press once and nearly dumped a resistance band into my face. Not fun.
Keep your equipment within arm’s reach before you start. A small basket or tote bag hanging from your chair handles works perfectly. I use a simple canvas bag from IKEA, and it holds my bands, hand weights, and a water bottle without taking up floor space.
Flooring Considerations
If you’re on carpet, your chair will stay put more easily, but rolling to reposition between exercises takes more effort. Hard floors let you move freely, but you absolutely need those brakes locked tight. I put a thin yoga mat under my chair on hardwood floors for extra grip, and that small fix made a big difference.
Beginner Friendly Exercise Guides for Wheelchair Users: Upper Body Strength
Upper body work is where most wheelchair users should start, and it’s where I saw the fastest results. Your arms, shoulders, chest, and back already do a lot of daily work, so building on that foundation feels natural.
Seated shoulder press is my go-to starter exercise. Hold a light dumbbell in each hand (I started with 3-pounders from Amazon Basics), bring them to shoulder height, and press straight up. Ten reps, three sets. Rest 30 seconds between sets. If dumbbells feel like too much at first, use a resistance band looped under your seat and press the handles upward.
Chest presses work great too. Hold the weights at chest level and push them straight out in front of you. Squeeze at the top. You’ll feel this in your pecs and triceps immediately.
For your back, try seated rows with a resistance band. Attach it to a door handle or wrap it around a sturdy table leg. Pull the handles toward your ribcage, squeezing your shoulder blades together. This one fixed my posture more than anything else I’ve tried.
Start with two upper body sessions per week. Give yourself at least one rest day between them. I pushed too hard at the beginning, and my shoulders were so sore I could barely transfer for two days.
Core Work From a Wheelchair (Yes, It’s Possible)
A lot of people assume core exercises require lying on the floor. They don’t. Your core works constantly in a wheelchair to keep you balanced and upright. Training it intentionally just makes everything else easier, from transfers to reaching for things on high shelves.
Seated trunk rotations are the simplest starting point. Sit tall, hold a light weight or a water bottle with both hands at chest height, and slowly rotate your torso to the right, then the left. That’s one rep. If you have limited trunk control, start without any weight and just focus on the rotation itself. Even small movements count.
Seated oblique crunches surprised me with how effective they are. Lean slightly to one side, reaching your hand toward the wheel, then use your oblique muscles to pull yourself back upright. Ten reps per side. You’ll feel the burn by rep six.
Seated marches work if you have some hip flexor function. Lift one knee at a time, alternating sides. This engages your lower abdominals and hip flexors. If lifting your knees isn’t possible, try pressing your hands down on your thighs and creating resistance, almost like you’re trying to lift your legs while your hands push down. That isometric tension still activates your core.
Cardio Options That Actually Get Your Heart Rate Up
Cardio from a wheelchair stumped me for the longest time. I couldn’t just go for a jog, and wheelchair sprints in my apartment would’ve terrified my downstairs neighbors.
But here’s what I found works. Arm ergometers (also called hand bikes or arm cycles) are the gold standard. The Vaunn Medical Pedal Exerciser is affordable and sits right on a table in front of you. You crank it with your arms, and within five minutes, your heart rate is up. I do 15-minute sessions three times per week, and my cardiovascular endurance has improved noticeably.
If you don’t want to buy equipment, shadow boxing from your chair is surprisingly effective. Throw punches at the air, alternating jabs, crosses, hooks, and uppercuts for 30-second intervals with 15-second rest periods. Eight rounds of that will leave you breathing hard. I put on some music and pretend I’m in a training montage. It’s honestly fun.
Speed bag movements work too. Hold your fists up at face level and make small, fast circular motions. Keep it going for 60 seconds. Rest. Repeat. Your shoulders will scream, and your heart rate will climb.
Stretching and Flexibility: The Part Everyone Skips
I skipped stretching for the first two months. That was a mistake that caught up with me fast. Sitting in a wheelchair all day already tightens your hip flexors, chest muscles, and shoulders. Adding exercise on top of that without stretching is a recipe for pain and reduced range of motion.
Neck stretches come first. Slowly tilt your head toward one shoulder, hold for 15 seconds, then switch. Roll your head in gentle half-circles from one side to the other. Never roll your head fully backward, that compresses your cervical spine.
Chest openers are essential. Clasp your hands behind your back (or behind your chair if you can’t reach), and gently pull your shoulders back while lifting your chest. Hold for 20 seconds. I do this three times, and it immediately counteracts the forward hunch I develop from pushing my chair.
Wrist and forearm stretches matter more than most guides mention. Extend one arm out, palm up, and gently pull your fingers back toward your body with the other hand. Hold 15 seconds. Then flip your hand palm-down and repeat. Your wrists take a beating from wheeling, and this prevents a lot of strain.
Spend at least five minutes stretching after every workout. On rest days, I still do a quick 10-minute stretch session because it keeps everything loose and reduces stiffness.
Building a Weekly Routine That Sticks
Having a plan matters more than motivation. Motivation disappears after week two. A schedule keeps you going when you’d rather watch Netflix.
Here’s the weekly routine that’s worked best for me:
- Monday: Upper body strength (30 minutes)
- Tuesday: Cardio, arm cycling or shadow boxing (20 minutes)
- Wednesday: Rest day, light stretching only
- Thursday: Core work plus upper body (30 minutes)
- Friday: Cardio (20 minutes)
- Saturday: Full-body stretching and flexibility (15 minutes)
- Sunday: Complete rest
This schedule gives you four active days, one light day, and two rest days. Adjust it based on your energy levels and any medical considerations. I talked to my physical therapist before starting, and I’d recommend the same for anyone new to exercising from a wheelchair.
Track your workouts in a simple notebook or an app like Strong. Writing down what you did, how many reps, and how it felt keeps you accountable and shows progress over time. Looking back at my first entries versus where I am now is genuinely motivating.
Gear That’s Worth Buying (and Gear That Isn’t)
You don’t need much, but the right few items make a real difference.
Resistance bands are the single best investment. I use the Fit Simplify set from Amazon. They come in five resistance levels, and they’re light enough to toss in your chair bag. They replace almost every cable machine at the gym.
A pair of adjustable dumbbells saves space. The Bowflex SelectTech 552s are pricey but worth it if you’re serious. If you’re testing the waters, a basic 3-to-8-pound dumbbell set from any sporting goods store works fine to start.
Workout gloves protect your hands, especially if you also push your chair throughout the day. My palms were getting torn up until I grabbed a pair of Harbinger training gloves.
Skip the “wheelchair-specific” exercise machines that cost hundreds of dollars. IMO, most of them are overpriced for what they offer. Bands, free weights, and a simple arm cycle cover 90% of what you need.
Staying Motivated When Progress Feels Slow
Some weeks, you won’t feel like you’re getting anywhere. That’s normal for everyone, not just wheelchair users. The key is tracking small wins instead of chasing dramatic changes.
Can you do two more reps than last week? That’s progress. Did your shadow boxing round last 10 seconds longer? That counts. Are you sleeping better? Feeling less stiff in the morning? Those results are just as real as visible muscle.
I also found that connecting with other wheelchair users who exercise helped enormously. The subreddit r/disability has workout threads, and Instagram accounts like @wheelchairgains and @therollingexplorer share adapted routines regularly. Seeing someone else doing it makes the whole thing feel less isolating.
FAQs
What equipment do I absolutely need to start exercising from my wheelchair?
A set of resistance bands and a pair of light dumbbells are all you need. Bands are versatile, inexpensive, and easy to store. I started with a $12 set from Amazon and used nothing else for the first month. You can add more gear later once you know what exercises you enjoy most.
How often should a beginner wheelchair user exercise at home?
Three to four days per week is a great starting point. Alternate between strength and cardio days, and always include at least one full rest day. Overdoing it early leads to soreness that can interfere with daily tasks like transferring and pushing your chair. Build up gradually over several weeks.
Are beginner friendly exercise guides for wheelchair users safe without a trainer?
Most basic seated exercises are safe if you start light, lock your brakes, and listen to your body. That said, checking with your doctor or physical therapist before beginning any new routine is always smart. They can flag specific movements to avoid based on your individual condition and help you modify exercises if needed.
Can wheelchair users build real muscle at home?
Absolutely. Progressive overload works the same way whether you’re standing or seated. Start with lighter resistance, increase it over time, and stay consistent. I’ve gained noticeable muscle in my shoulders, arms, and back over the past year using only home equipment. It takes patience, but the results are real.
What if I have limited hand grip or arm strength?
Adaptive equipment exists for exactly this situation. Velcro wrist wraps can attach weights to your forearms without requiring grip. Resistance bands with loop handles work better than ones requiring you to squeeze a handle. Start with the lightest resistance possible and focus on range of motion before adding any load.
Conclusion
Getting started is the hardest part, and you’ve already taken a step just by reading this far. The right routine, a small amount of gear, and a little stubbornness go a long way toward building real strength from your chair. What’s the first exercise you’re going to try this week?